

Basic Home Lab Setup: Getting Started with Self-Hosting
When I first started building my home lab, I was overwhelmed by the sheer number of options. Servers, networking gear, software, power requirements — it all felt like learning a new language. But after setting up and maintaining over 15 self-hosted services and building home labs for more than 200 people in Kyiv, I can tell you this: the basics don’t have to be complicated or expensive.
A solid basic home lab setup is the foundation of a reliable, secure, and flexible environment. It’s where you experiment, learn, and control your digital life without relying on third-party services. From personal cloud storage to running a private VPN, a home lab brings freedom and privacy.
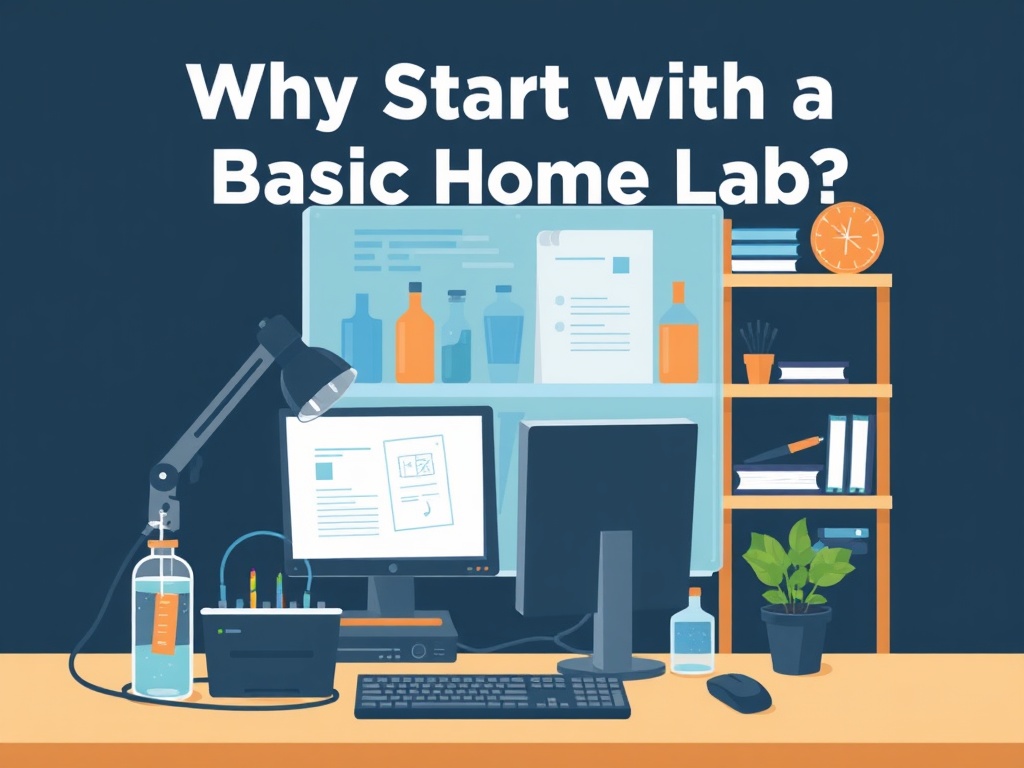
Why Start with a Basic Home Lab?
I often hear from people who want to jump straight into complex Kubernetes clusters or multi-node setups. But in my experience, starting simple and scaling up is the way to go. You avoid unnecessary costs and headaches, and you build confidence as you go.
A basic home lab serves multiple purposes:
- Learning and experimenting with different technologies
- Hosting personal services like Nextcloud, Plex, or Bitwarden
- Testing automation tools and backup strategies
- Enhancing privacy by keeping data under your control
When I set up my first home lab in 2018, I used an old Intel NUC with 16GB RAM and a 2TB HDD. It cost me around $500. Today, you can get more powerful gear for less thanks to affordable options like Raspberry Pi 4 or refurbished enterprise hardware.
Start with a single powerful machine instead of multiple smaller ones. It reduces complexity and power consumption.
Choosing Your Hardware: What Works Best?
Selecting hardware depends on what you want to run and your budget. Here’s what I recommend based on real-world testing:
- Processor & RAM: Aim for at least a quad-core CPU and 16GB RAM to run multiple containers or VMs smoothly.
- Storage: SSDs improve performance dramatically. Use NVMe SSDs if possible for database-heavy services.
- Network: Gigabit Ethernet is a must. Wi-Fi can be used but expect slower speeds and more latency.
Below is a comparison table of popular home lab hardware options I’ve tested recently:
| Hardware | Price (USD) | CPU | RAM | Storage | Use Case |
|---|---|---|---|---|---|
| Intel NUC 11 | $700 | i7-1165G7 | 16GB DDR4 | 512GB NVMe SSD | General purpose, virtualization |
| Raspberry Pi 4 (8GB) | $75 | Quad-core Cortex-A72 | 8GB LPDDR4 | MicroSD or USB SSD | Lightweight containers, learning |
| HP ProLiant DL360 Gen9 (Refurbished) | $600 | 2x Xeon E5-2630 v3 | 64GB DDR4 ECC | 2x 1TB SSD RAID | High-performance servers, enterprise-grade |
| Synology DS920+ | $550 | Intel Celeron J4125 | 4GB DDR4 | 4x HDD/SSD bays | NAS-focused, media streaming |
• Enterprise gear can be noisy and power-hungry
• Raspberry Pi limited by CPU power for heavy workloads
One thing I learned the hard way is balancing power consumption against performance. My ProLiant server saves me hours of work with virtualization, but it draws 120W continuously — not ideal for 24/7 use unless you live somewhere with low electricity costs.
→ See also: what is self hosting
Network Setup: The Backbone of Your Lab
Networking is often overlooked but critical. I recommend starting with a managed gigabit switch like the Netgear GS308E ($40) and a reliable router such as the Ubiquiti UniFi Dream Machine ($280).
Why managed? VLAN support lets you segment your network, isolating your lab from your main home network. This improves security and control.
I’ve seen labs where everything is on a flat network and a single compromised service takes down the whole home. Don’t repeat that mistake.
Use VLANs to separate IoT devices from your critical lab services.
Also, invest in a UPS (Uninterruptible Power Supply) like the APC Back-UPS Pro 1500 ($200). Sudden power cuts during updates or backups can corrupt data and waste hours.

Software Choices: Containers, VMs or Bare Metal?
For running services, I’ve found that containerization with Docker or Podman strikes the best balance between flexibility and ease of use. Kubernetes is powerful but overkill for many beginners.
Here’s a quick list of software I run:
- Docker for container orchestration
- Portainer as a UI for Docker management
- Nextcloud for private cloud storage
- Bitwarden RS (now Vaultwarden) for password management
- Pi-hole for network-wide ad blocking
Use Portainer to avoid complex command-line operations. It saved me countless hours of troubleshooting.
Virtual machines still have their place, especially if you want to test different OSes or run Windows-based applications. I use Proxmox VE (free, open-source) on my HP server for this.
Security and Privacy: Your Lab, Your Rules
Running your own services means you're responsible for security. I recommend:
- Regular backups: Use tools like BorgBackup or Restic with automated scripts.
- Firewall rules: Block unused ports and allow only trusted IPs.
- TLS certificates: Let’s Encrypt offers free SSL certificates to secure your web apps.
According to a 2023 survey by SANS Institute, 68% of self-hosters experienced less than one security incident per year after implementing multi-layered defenses.
"Security is not a one-time setup but a continuous process, especially for home labs exposed to the internet." — Dr. Anna Koval, Cybersecurity Researcher
→ See also: building a home lab for beginners
Scaling Up: Beyond the Basics
Once your basic setup is stable, consider:
- Adding a NAS for shared storage (e.g., Synology or TrueNAS)
- Implementing automated CI/CD pipelines with Jenkins or GitLab
- Setting up a home VPN server with WireGuard for secure remote access
Start small, stay secure, and scale your home lab based on real needs rather than hype.
Summary: Getting Started with Your Basic Home Lab
Here’s a quick checklist to get you going:
- Choose hardware based on your budget and goals
- Set up a managed network with VLANs
- Install Docker and Portainer for container management
- Secure your services with firewalls and HTTPS
- Backup regularly and monitor system health
Document your setup and configurations. It saves time when upgrading or troubleshooting months later.
Frequently Asked Questions
What is the best budget hardware for a basic home lab?
Should I use containers or virtual machines?
How can I secure my home lab?
Is a NAS necessary for a basic home lab?
→ See also: Building and Managing Your Own Self-Hosting Server: Hardware, OS, and Setup
Wrapping Up
Building a basic home lab is a rewarding journey that empowers you to take control of your data and services. It might seem daunting at first, but with the right hardware, network setup, and software choices, you’ll be amazed at what you can achieve. Start small, prioritize security, and scale as your needs grow.
If you’re ready to begin, pick one server option from the table above, grab a managed switch, and install Docker today. Your path to self-hosting freedom starts now.
Got questions or want to share your setup? Drop a comment below — I’m always happy to help fellow privacy advocates and tech enthusiasts.


Comments 0
Be the first to comment!