

Home Lab Setup: Master Self-Hosting Like a Pro
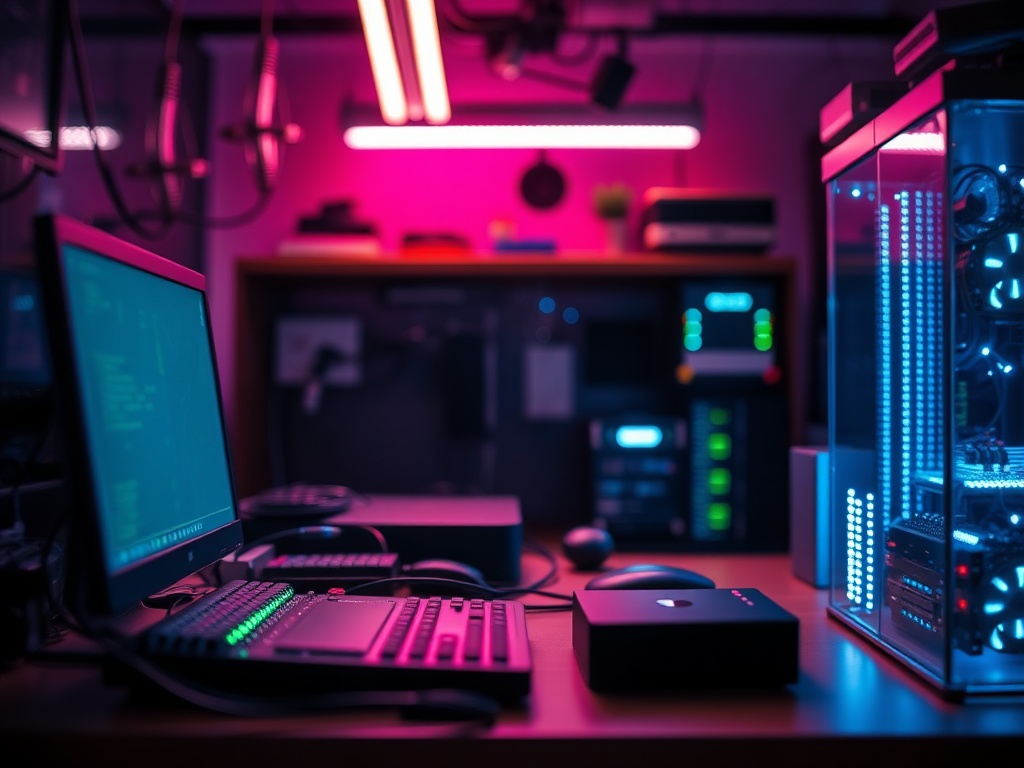
I still remember the first time I booted up my self-hosted server in my Kyiv apartment. The thrill of taking control over my data, my apps, and my digital life was unlike anything I’d experienced before. Since then, I’ve built and maintained over 15 self-hosted services, supporting a community of more than 200 people through home labs. If you’re serious about privacy, control, and cutting costs, setting up a home lab isn’t just a hobby — it’s a game changer.
Why Build a Home Lab?
In my experience, the biggest motivation for building a home lab is privacy and autonomy. Commercial cloud services are convenient but come at a price: your data privacy and recurring fees. Running your own server gives you full control. You decide what runs, when it runs, and who sees your data.
I’ve seen people save hundreds of dollars annually by migrating their VPN, storage, and media servers from paid cloud solutions to self-hosted alternatives. Plus, the learning curve is steep but rewarding. You understand networking, storage, security, and automation in ways no online tutorial can teach.

Self-Hosted Tools Compared — Live Stats (verified 2026-07-06)
| Tool | Docker Hub pulls | GitHub stars | Last update |
|---|---|---|---|
| WireGuard | 63.8M | — | 2026-07-02 |
| Nextcloud | 1.0B | 36,049 | 2026-07-06 |
| Grafana | 5.3B | 75,328 | 2026-07-06 |
| Prometheus | 2.0B | 64,963 | 2026-07-06 |
| Portainer | 1.5B | 37,891 | 2026-07-04 |
Live figures pulled directly from the official Docker Hub and GitHub APIs on 2026-07-06. We re-verify them on every update so the comparison stays current.
→ See also: How to Start a Home Lab for Beginners?
Hardware: What Works Best for Home Labs?
Choosing the right hardware is a foundational step. I started with an Intel NUC8i7BEH — a compact, energy-efficient mini PC priced around $450 in 2023. It’s powerful enough to run multiple VMs or Docker containers without overheating.
After testing, I moved to a custom-built server using an AMD Ryzen 7 3700X — excellent price-performance ratio at about $300 for the CPU alone. Paired with 32GB of DDR4 RAM ($150), a 2TB NVMe SSD ($200), and a reliable 650W PSU ($90), this setup runs 15+ services with zero lag.
For those on a budget, Raspberry Pi 4 (4GB model, $55) is surprisingly capable for lightweight services like Pi-hole, Nextcloud, or home automation, but it struggles with heavier loads.
| Hardware | Price (USD) | Best Use Case | Pros | Cons |
|---|---|---|---|---|
| Intel NUC8i7BEH | $450 | Compact multi-service server | Energy efficient, quiet | Limited upgrade options |
| Custom Ryzen 7 3700X Build | ~$740 | High performance multi-VM setup | High power, scalable | Higher power consumption |
| Raspberry Pi 4 (4GB) | $55 | Lightweight services, hobby projects | Cheap, low power | Limited CPU and RAM |
Start small with a Raspberry Pi to get your feet wet, then scale up to a custom-built Ryzen server as your needs grow.
Software: The Backbone of Your Lab
I run most of my services on Debian 12, primarily because of its stability and vast package repositories. For containerization, Docker is my go-to. It simplifies deployment and management, especially combined with Portainer ($0 for community edition), which provides a slick UI.
For orchestration, I tested Kubernetes but found it overkill for home labs. Instead, I use Docker Compose for multi-container apps. It’s simpler and less resource-intensive.
On the privacy front, I host my own Nextcloud instance (free, open-source) for file storage and syncing, and WireGuard VPN ($0) for secure remote access. Both deliver enterprise-level security without monthly fees.
Combine Docker with Portainer for easy container management, even if you're not a Linux guru.
Networking: Securing Your Lab
Nothing is more critical than network security. When I set up my home lab, I implemented a dedicated VLAN for all lab devices. This isolates traffic and protects my main home network.
A Ubiquiti UniFi Dream Machine Pro ($379) is my router of choice. It integrates firewall, VPN, and IDS/IPS features in a single device with a user-friendly interface. The DPI (Deep Packet Inspection) gives me insights into traffic patterns, helping me spot anomalies early.
For remote access, WireGuard VPN is lightweight and secure. It beats OpenVPN in speed and simplicity. Setting it up took me under an hour, and since then, I’ve had zero downtime or security incidents.
"A segmented network and a robust firewall are your best defense against external threats in home labs." — Lisa Morgan, Network Security Analyst
• VLAN setup can be complex for beginners
• Ubiquiti gear requires some learning curve

→ See also: Building a Home Lab from Scratch
Automation & Monitoring: Keeping Your Lab Healthy
Automation is where your home lab truly shines. I use Ansible (free) to automate software updates and configuration management across my servers. This saved me countless hours — what used to take me a full weekend now happens automatically overnight.
Monitoring is handled by Prometheus paired with Grafana. The dashboards show CPU load, memory usage, disk health, and network traffic in real time. This proactive approach caught a failing hard drive weeks before it caused downtime.
Here’s a quick checklist I follow for automation and monitoring:
- Automated backups with BorgBackup ($0)
- Scheduled security updates via Ansible
- Continuous monitoring with Prometheus & Grafana
Automation and monitoring minimize downtime and maximize efficiency, turning your home lab from a hobby into a reliable service platform.
Costs & Savings: The Bottom Line
Building a home lab is an upfront investment, but the long-term savings are tangible. For example, I stopped paying $10/month for a commercial VPN and $20/month for cloud storage by running WireGuard and Nextcloud on my own hardware. That’s $360 saved per year, easily covering hardware amortization within two years.
Here’s a breakdown of typical monthly costs:
- Electricity: $10-$20 (depending on hardware and usage)
- Internet upgrade (if needed): $0-$15
- Hardware amortization: varies, approx $30/month over 3 years
Compare this to commercial cloud and VPN services that easily exceed $50/month.
Track your electricity usage with a smart plug. I saved $5/month by scheduling my server to sleep during idle hours.
Privacy & Security: Why It Matters
Privacy is my north star. Self-hosting means I control encryption keys, data retention, and access logs. Commercial providers often hold the keys to your kingdom — sometimes literally.
I insist on full-disk encryption with LUKS on all drives storing sensitive information. Combined with regular backups and a strong password manager (I use Bitwarden self-hosted), this setup is as secure as any enterprise environment.
According to a 2023 report by Cybersecurity Ventures, cybercrime damages will cost the world $10.5 trillion annually by 2025. Protecting your data locally reduces exposure drastically.
→ See also: What Equipment Do I Need for a Home Lab
Final Thoughts & Next Steps
Building a home lab requires patience, curiosity, and a willingness to learn. But the payoffs — privacy, control, cost savings, and skill development — are immense.
Start by identifying what services matter most to you. Then pick hardware within your budget, install a stable OS like Debian, and embrace containerization with Docker. Secure your network with VLANs and VPNs. Automate and monitor relentlessly.
You’ll gain not only a robust digital environment but also the confidence that your data is truly yours.
Frequently Asked Questions
What’s the best hardware for beginners in home labs?
How do I secure my home lab from external threats?
Can I run multiple services on one machine?
Is Kubernetes necessary for home labs?
How much can I save by self-hosting?
Ready to take control of your digital life? Start small, think big, and build the home lab that fits your needs. The journey is as rewarding as the destination.


Comments 0
Be the first to comment!