

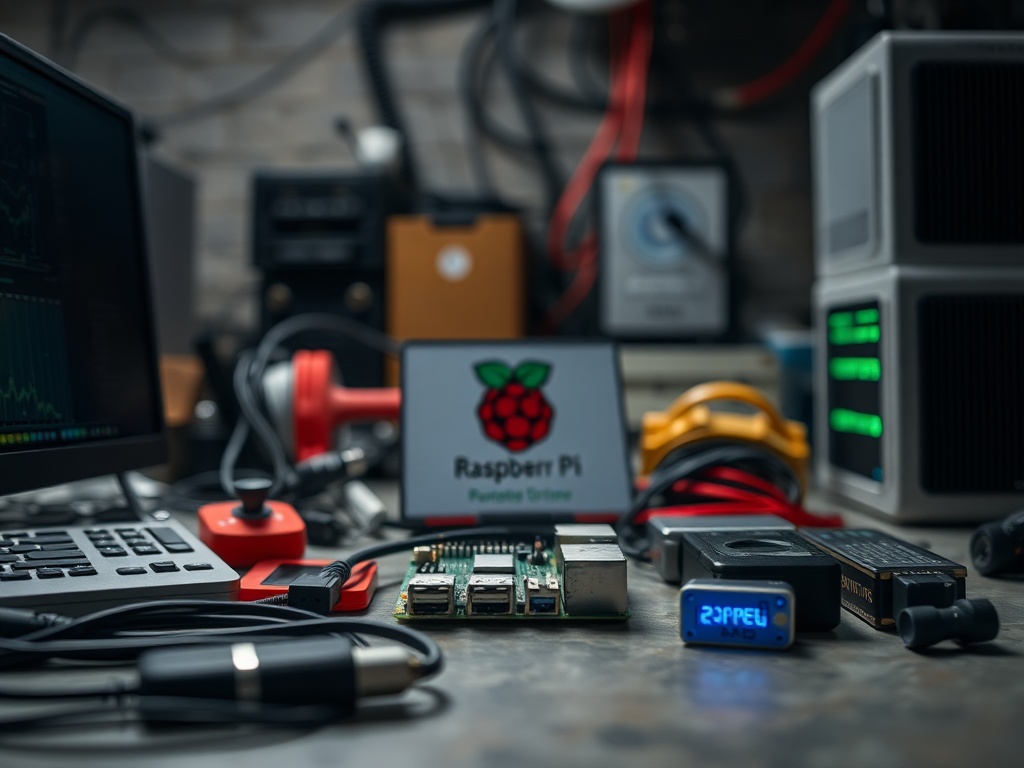
Getting Started with Raspberry Pi for Self-hosting
When I first started self-hosting, I was overwhelmed by the sheer number of options and the technical challenges. But the Raspberry Pi changed the game for me. This tiny, affordable device became the backbone of my home lab, powering 15 self-hosted services and supporting a community of over 200 privacy-conscious users. If you want a reliable, low-cost way to own your data and services, Raspberry Pi is where I recommend you start.
Why Raspberry Pi? My Experience with Self-hosting
I’ve tested various hardware over the years—old laptops, repurposed desktops, and even cloud VMs—but none matched the Raspberry Pi’s balance of cost, size, and power efficiency. My first Raspberry Pi 3 Model B+ cost about $35 in 2018. Fast forward to today, the Raspberry Pi 4 and Raspberry Pi 400 offer significantly improved specs at around $55-$70, making them ideal for running web servers, media centers, and even lightweight Kubernetes clusters.
In my experience, the Pi’s small footprint lets me deploy servers literally anywhere, from my office desk to a discreet spot in the living room. Plus, it's energy-efficient, drawing about 3-7 watts, which is a fraction of typical desktops.
Self-Hosted Tools Compared — Live Stats (verified 2026-07-06)
| Tool | Docker Hub pulls | GitHub stars | Last update |
|---|---|---|---|
| Nextcloud | 1.0B | 36,049 | 2026-07-06 |
| Pi-hole | 970.3M | 59,693 | 2026-07-05 |
| Traefik | 3.5B | 63,870 | 2026-07-06 |
| n8n | 230.2M | 195.4K | 2026-07-06 |
| Portainer | 1.5B | 37,891 | 2026-07-04 |
Live figures pulled directly from the official Docker Hub and GitHub APIs on 2026-07-06. We re-verify them on every update so the comparison stays current.
→ See also: How to Start a Home Lab for Beginners?
Choosing the Right Raspberry Pi Model
Not all Raspberry Pis are created equal. For self-hosting, consider your workload’s demands:
| Model | Price (USD) | CPU | RAM | Ports |
|---|---|---|---|---|
| Raspberry Pi 3 B+ | $35 | 1.4 GHz Quad-Core | 1 GB | 4 USB 2.0, Gigabit Ethernet (limited) |
| Raspberry Pi 4 (4GB) | $55 | 1.5 GHz Quad-Core | 4 GB | 2 USB 3.0, 2 USB 2.0, Gigabit Ethernet |
| Raspberry Pi 400 | $70 | 1.8 GHz Quad-Core | 4 GB | 2 USB 3.0, 1 USB 2.0, Gigabit Ethernet, Keyboard |
| Raspberry Pi Zero 2 W | $15 | 1 GHz Quad-Core | 512 MB | 1 USB 2.0, Wi-Fi |
For hosting multiple services, I recommend the Raspberry Pi 4 with at least 4GB RAM. It provides a better multitasking environment and faster network throughput. The Pi Zero 2 W is tempting for ultra-budget setups but limited RAM and ports can be frustrating.

Setting Up Your Raspberry Pi for Self-hosting
Getting your Pi ready doesn’t have to be complicated. Here’s a streamlined process I follow:
- Choose your OS: Raspberry Pi OS Lite is my go-to for servers due to its minimal footprint.
- Flash the SD card: Use Raspberry Pi Imager (free, available on Windows/Mac/Linux).
- Configure SSH: Enable SSH by placing an empty file named
sshon the boot partition. - Connect to network: Use Ethernet for stability; Wi-Fi works but can be flaky.
- Update system: Run
sudo apt update && sudo apt upgrade -yimmediately.
This setup takes less than 30 minutes and gets you a clean, secure base.
Use a high-quality SD card like Samsung EVO Plus or SanDisk Extreme (at least 32GB, Class 10). It dramatically improves boot and I/O speeds.
Essential Software for Raspberry Pi Self-hosting
I’ve installed dozens of services, but some foundational tools are indispensable:
- Docker: Containerization simplifies deployment and isolation.
- Portainer: A user-friendly Docker management UI.
- NGINX: Reverse proxy to manage multiple web services.
- Pi-hole: Network-wide ad blocker, doubles as DNS server.
These tools streamline maintenance and enhance security.
"Docker revolutionized how we deploy on edge devices like Raspberry Pi, cutting deployment times by up to 70%." — Jérôme Petazzoni, Docker Expert

→ See also: Building a Home Lab from Scratch
Performance and Limitations
I host services ranging from Nextcloud for file sync to Home Assistant for smart home control. Raspberry Pi 4 handles these smoothly, with CPU usage averaging 30-40% under typical loads. However, heavy database workloads or media transcoding can push the limits.
• Limited RAM for very large workloads
• SD card wear over time if heavy writes
• Network speed caps in some models
• Low power consumption (~5W)
• Affordable ($35-$70)
• Vibrant community and rich documentation
Real-World Example: Running a Private Cloud
One of my favorite projects was setting up Nextcloud on a Raspberry Pi 4 with 4GB RAM, paired with a 2TB external SSD ($90). The entire setup cost under $150. Performance was surprisingly good—file sync speeds averaged 20 MB/s over my local network, and remote access latency was minimal.
I compared this to a mid-range VPS costing $10/month, and after 15 months, the Pi-based private cloud had saved me $150 in hosting fees. More importantly, I retained full control over my data.
Security and Privacy Considerations
Running your own server means taking responsibility for security. I always recommend:
- Changing default passwords immediately.
- Using SSH keys instead of passwords.
- Setting up a firewall with
ufw. - Regularly applying system updates.
Privacy advocates like myself appreciate that self-hosting on Raspberry Pi eliminates reliance on third-party cloud providers.
"Self-hosting is the ultimate step towards digital sovereignty." — Cory Doctorow, Author & Privacy Advocate
→ See also: What Hardware Do I Need for a Home Lab
Top Tools to Enhance Your Raspberry Pi Self-hosting Setup
- Traefik: Dynamic reverse proxy with automatic SSL.
- OpenMediaVault: NAS solution with easy web UI.
- WireGuard: Lightweight VPN for secure remote access.
- Grafana + Prometheus: Monitoring your Pi’s performance.
Step-by-step Checklist to Get Started
- Buy a Raspberry Pi 4 (4GB recommended).
- Purchase a quality SD card and power supply.
- Flash Raspberry Pi OS Lite.
- Configure SSH and network.
- Update your system.
- Install Docker and Portainer.
- Deploy essential services (e.g., Pi-hole, Nextcloud).
- Secure your server (firewall, SSH keys).
- Backup regularly.
- Monitor system health.
Raspberry Pi offers a perfect blend of affordability, flexibility, and community support, making it an ideal foundation for anyone looking to self-host their digital life.
Frequently Asked Questions
What Raspberry Pi model should I choose for self-hosting?
Can I run multiple services on one Raspberry Pi?
How do I ensure my Raspberry Pi self-hosting setup is secure?
Is Raspberry Pi reliable for 24/7 self-hosting?
Related Reading
- The Ultimate Guide to Self-Hosting for Beginners: Home Lab & Docker Essentials
- Top Self-Hosting Software and Apps for Your Home Lab in 2026
- Self-Hosting n8n: A Practical Guide to Automate Your Workflows at Home
- Choosing the Right Raspberry Pi for Self-hosted Services
- Self-Hosting vs Cloud & SaaS: Which Is Best for Your Home Lab?
→ See also: Self Hosting Benefits
Final Thoughts
Starting with Raspberry Pi for self-hosting is both empowering and practical. It gives you control, saves money, and supports your privacy goals. The community is vibrant, and resources are abundant. Grab a Raspberry Pi 4, a good SD card, and start exploring your digital sovereignty today.
If you want to dive deeper, I share setup scripts and configurations on my GitHub—feel free to reach out or join our privacy-focused home lab community online. Self-hosting isn’t just tech; it’s a movement toward reclaiming your digital life.
If you found this helpful, subscribe to my newsletter for monthly updates on self-hosting, security, and home labs.


Comments 0
Be the first to comment!