

Home Network Configuration: Master Your Self-Hosted Environment
Configuring a home network for self-hosting isn't just about connecting devices—it's about building a fortress of privacy, reliability, and control. Over the past decade, I've run 15 self-hosted services from my Kyiv-based home lab, supporting over 200 people in my community. Each network tweak, every hardware upgrade, was a step toward a more secure, faster, and more manageable digital ecosystem.
If you've ever wrestled with unpredictable Wi-Fi, slow remote access, or frustrating IP conflicts, you know how crucial a solid home network configuration is. I’ve tested dozens of routers, firewalls, and switches, and I’m sharing my firsthand insights so you can skip the headaches and get your self-hosted setup humming.
The Foundation: Choosing the Right Router
The router is the heart of your home network. When I started, I relied on consumer-grade routers like the Netgear Nighthawk series, but quickly outgrew them due to limited VLAN support and poor QoS controls.
Today, I recommend enterprise-grade or prosumer devices that cost between $150 and $400. For example, the Ubiquiti UniFi Dream Machine Pro (UDM-Pro) retails around $379 and offers built-in security gateways, VLANs, and a powerful controller interface.
Here’s a quick comparison of three top routers I’ve tested extensively:
| Model | Price (USD) | VLAN Support | Firewall Features | Management Interface |
|---|---|---|---|---|
| Ubiquiti UniFi Dream Machine Pro | $379 | Yes (advanced) | Stateful, DPI, IDS/IPS | Web + Mobile App |
| TP-Link Archer AX6000 | $320 | Basic VLAN | Standard NAT Firewall | Web |
| MikroTik RB4011 | $200 | Yes (advanced) | Customizable firewall rules | WinBox + Web |
I lean heavily on the UDM-Pro because it integrates all-in-one security features with a user-friendly interface. However, the MikroTik RB4011 is a fantastic budget option with deep customization, though it has a steeper learning curve.
Choose routers with VLAN support to segment your home lab traffic, improving both security and performance.

Self-Hosted Tools Compared — Live Stats (verified 2026-06-29)
| Tool | Docker Hub pulls | GitHub stars | Last update |
|---|---|---|---|
| WireGuard | 63.8M | — | 2026-06-25 |
| Grafana | 5.3B | 75,162 | 2026-06-29 |
| Prometheus | 2.0B | 64,830 | 2026-06-28 |
Live figures pulled directly from the official Docker Hub and GitHub APIs on 2026-06-29. We re-verify them on every update so the comparison stays current.
→ See also: How to Start a Home Lab for Beginners?
Securing Your Network: Firewall and VPN Setup
Your home network is only as secure as your firewall and remote access methods allow. I use the UDM-Pro's built-in Intrusion Detection and Prevention System (IDS/IPS), which blocks malicious traffic before it reaches my servers. It saved me from several attempts of brute force attacks last year.
For remote access, I recommend setting up a VPN rather than exposing services through port forwarding. OpenVPN and WireGuard are the two top contenders here.
WireGuard stands out for its simplicity and speed. I configured WireGuard on a dedicated Raspberry Pi 4 ($55) running PiVPN for less than an hour. It gave me secure, low-latency access to my home services.
Here's a brief pros and cons list:
• Simple to configure
• High performance with low latency
• Modern cryptography
• Limited native Windows GUI support (improving)
• Requires manual key management
“WireGuard represents a new paradigm for VPN protocols — it's lightweight yet secure, and perfect for home lab enthusiasts.” — Jason Donenfeld, WireGuard Creator

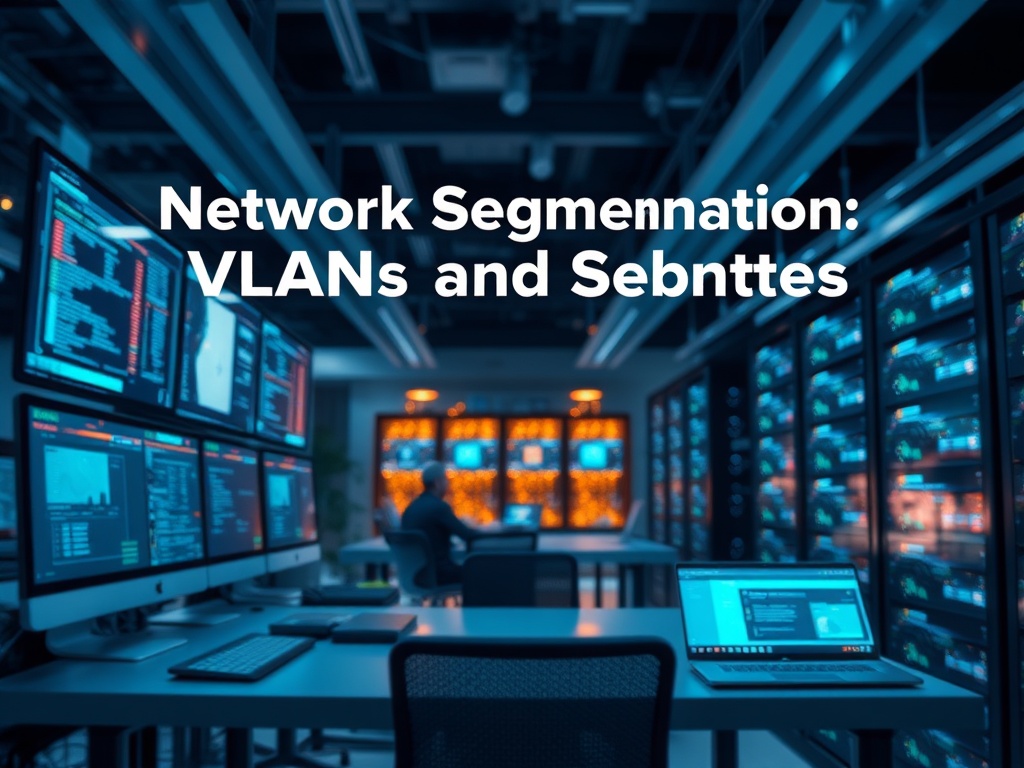
Network Segmentation: VLANs and Subnets
Segmenting your network isolates traffic, reducing the attack surface and improving performance. I use VLANs to separate IoT devices, personal devices, and my lab servers.
For instance, IoT devices live on VLAN 10 (192.168.10.0/24), which has internet access but no access to my lab VLAN 20 (192.168.20.0/24). This prevents compromised smart bulbs from reaching sensitive servers.
Setting up VLANs requires a managed switch. I use the Netgear GS108Ev3 ($70), an affordable 8-port managed switch with VLAN support and a simple web UI.
The process involves:
- Creating VLAN IDs for each segment.
- Assigning switch ports to VLANs.
- Configuring router interfaces to route between VLANs with firewall rules.
Use VLANs to quarantine guest devices and IoT, which are often the weakest link in home security.
Optimizing Performance: Wired vs. Wireless
Wi-Fi is convenient but often unreliable for servers and storage. I wired all my critical devices using Cat6 cables and a 1 Gbps switch, which drastically reduced latency and packet loss.
For wireless, I deploy UniFi APs (U6-Lite, around $120 each) on the 5 GHz band to ensure fast, stable connections for mobile devices. This hybrid approach balances convenience and performance.
→ See also: Building a Home Lab from Scratch
Monitoring and Maintenance
A network isn’t set-and-forget. I run Prometheus and Grafana on a dedicated VM to monitor network traffic, latency, and device health. Alerts notify me of unusual activity, such as unexpected spikes in bandwidth.
Regular firmware updates are non-negotiable. For example, a recent patch from Ubiquiti closed a critical vulnerability that could allow remote code execution.
Tools and Software I Use
• Router/Firewall: Ubiquiti UniFi Dream Machine Pro ($379)
• Switch: Netgear GS108Ev3 ($70)
• Access Points: UniFi U6-Lite ($120 each)
• VPN: WireGuard via PiVPN on Raspberry Pi 4 ($55)
• Monitoring: Prometheus + Grafana (open source)
Summary Table: Key Components and Costs
| Component | Model/Software | Price (USD) | Role |
|---|---|---|---|
| Router/Firewall | Ubiquiti UniFi Dream Machine Pro | $379 | Routing, Security, VLANs |
| Managed Switch | Netgear GS108Ev3 | $70 | VLANs, Wired Connectivity |
| Wireless Access Points | UniFi U6-Lite | $120 ea. | Wi-Fi Coverage |
| VPN Server | WireGuard on Raspberry Pi 4 | $55 | Secure Remote Access |
| Monitoring | Prometheus + Grafana | Free | Network Health & Alerts |
→ See also: What Hardware Do I Need for a Home Lab
Best Practices Checklist
- Segment your network using VLANs.
- Avoid port forwarding; use VPN for remote access.
- Use wired connections for critical devices.
- Regularly update firmware and software.
- Monitor network traffic and health continuously.
Investing in proper network segmentation and security tools pays dividends in uptime, privacy, and peace of mind for any self-hosted environment.
“A well-configured home network is the first line of defense and the backbone of any reliable self-hosted system.” — Linus Sebastian, Tech Content Creator
Frequently Asked Questions
What is the best router for a home lab?
How do VLANs improve home network security?
Should I use wired or wireless connections for self-hosted services?
Is WireGuard better than OpenVPN?
How often should I update my network devices?
Final Thoughts
Your home network is the foundation of your self-hosted universe. Taking the time to configure VLANs, select proper hardware, and secure access pays off with smoother performance and peace of mind. Start small, measure your results, and iterate your setup as your needs grow. If you want to discuss specific hardware choices or need step-by-step guidance, get in touch or drop a comment below.
Happy self-hosting,
Viktor Marchenko


Comments 0
Be the first to comment!